VENDOR MAINTENANCE
DESCRIPTION: The Vendor Maintenance program stores all the information about your vendors including their addresses, contact information, and how their invoices are aged.
====================================================
To access Vendor Maintenance, click on the PAYABLES BUTTON .png) on the Main Screen, then click on the VENDOR MAINTENANCE BUTTON.
on the Main Screen, then click on the VENDOR MAINTENANCE BUTTON. .png)
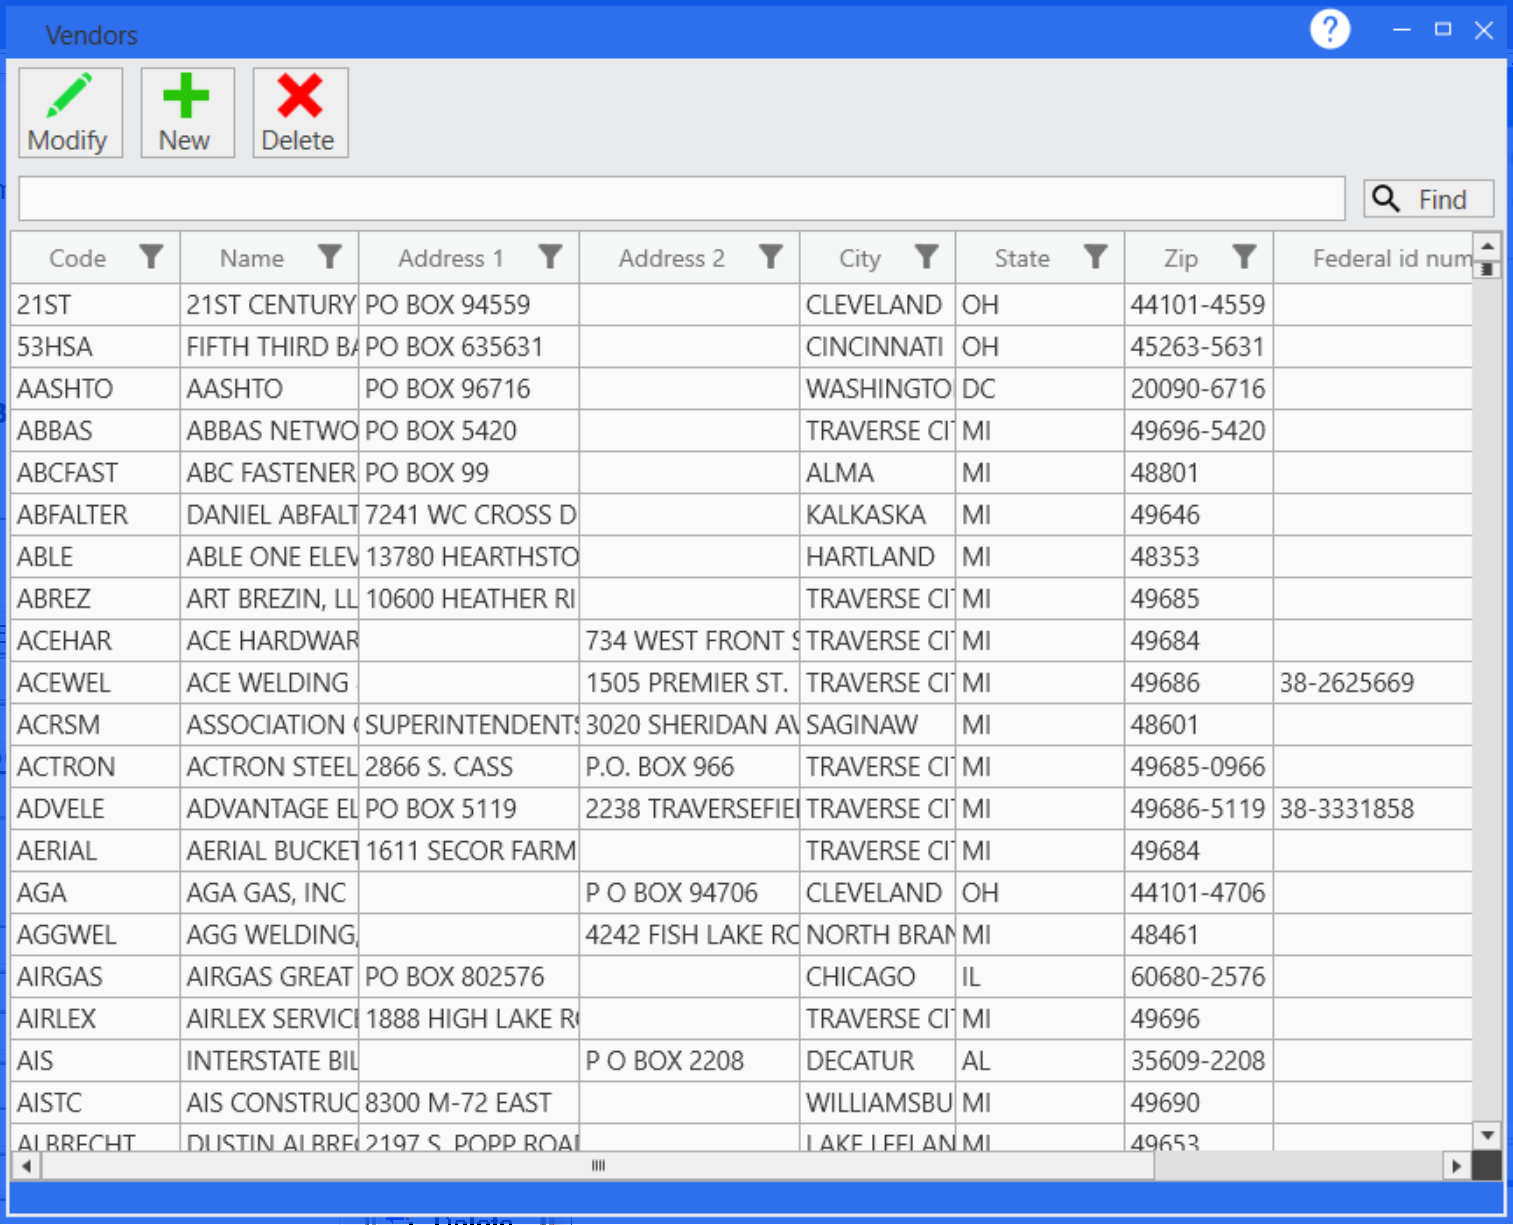
Please see the following topic for help on setting up filters in the vendors grid: Exploring Grid Filters
TO SET UP A NEW VENDOR:
1.Click on the NEW button. .png)
The following screen will appear: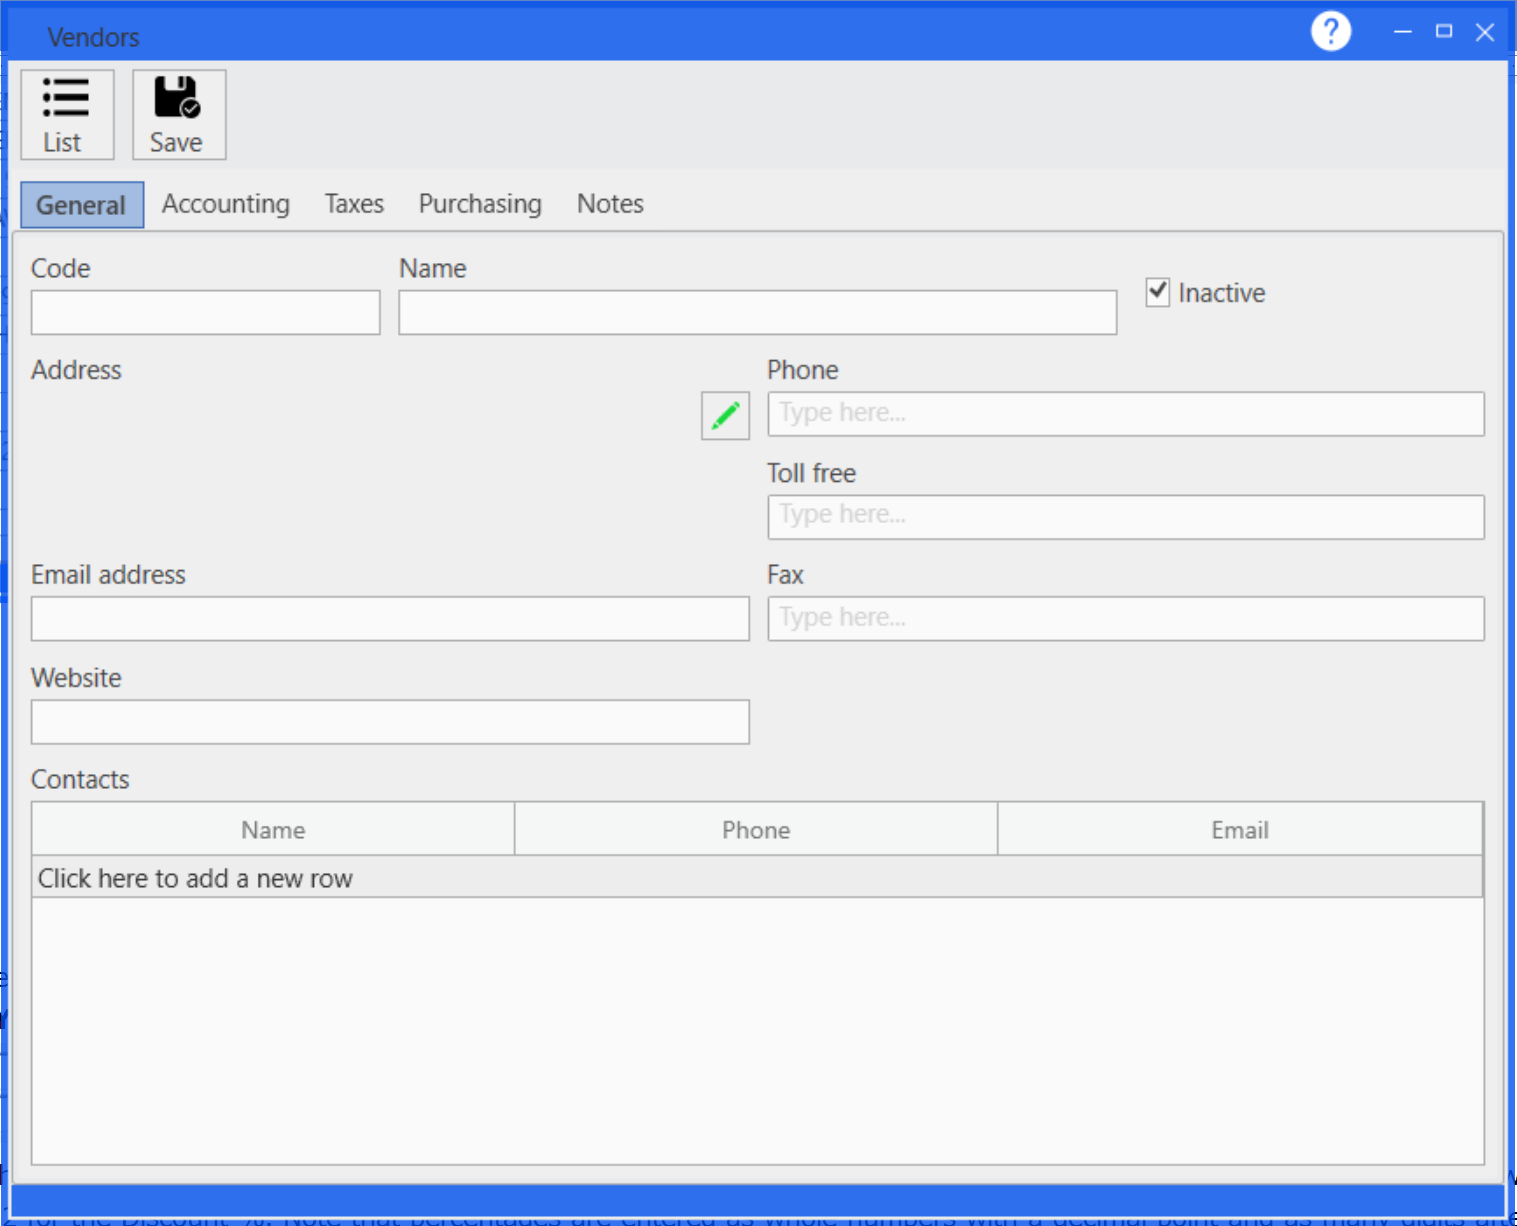
2.Fill out all of the necessary information for the vendor.
3.The General tab includes the basic contact information about the vendor such as the name, address, and phone number. You can add multiple contacts for a single vendor by clicking on the Click here to add a new row button in the Contacts grid.
4.The Accounting tab includes the accounting related information for the vendor such as the Default Account Number, the Terms, if the vendor is paid electronically and the customer account number associated with this vendor.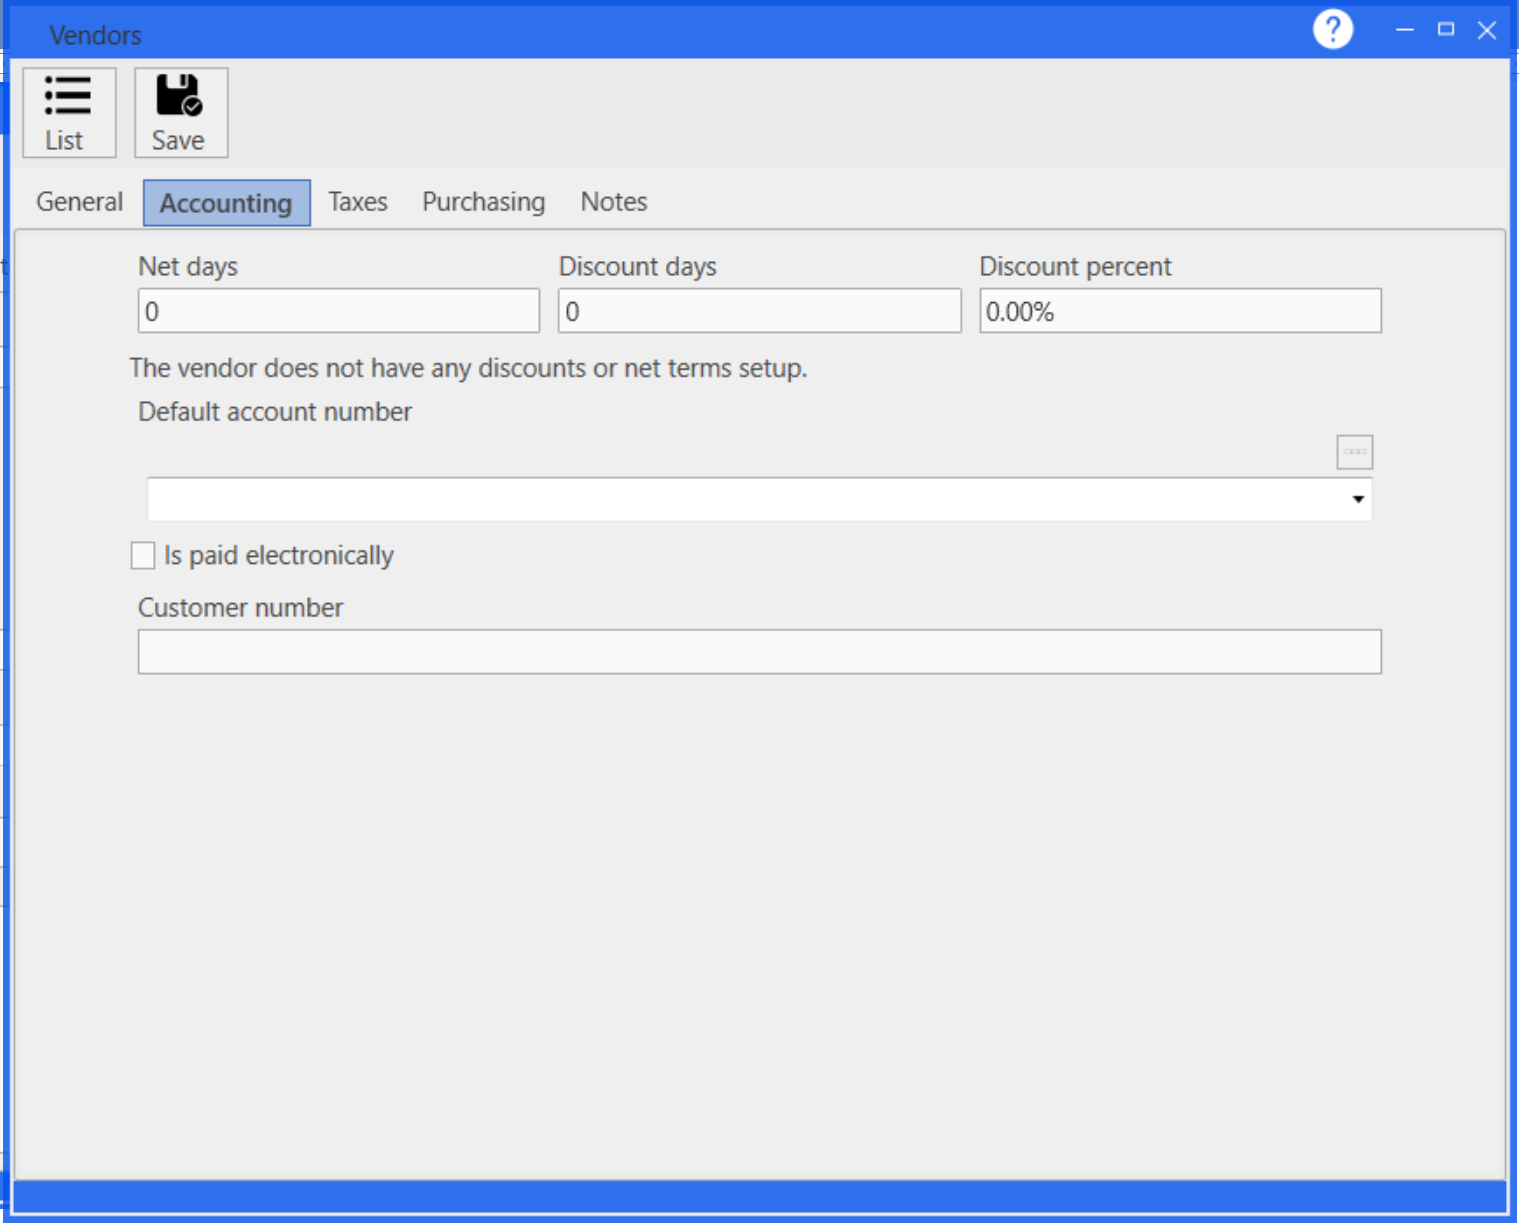
5.The Taxes tab includes the information required to file 1099 MISC forms and also includes the federal tax identification number.
If you are reuqried to file a 1099 for a vendor, then make sure to check the Requires 1099 checkbox and fill in the 1099 box, 1099 name, and if the address to mail the 1099 is different than the vendor address then click on the pencil button to fill in the correct address in the 1099 address section.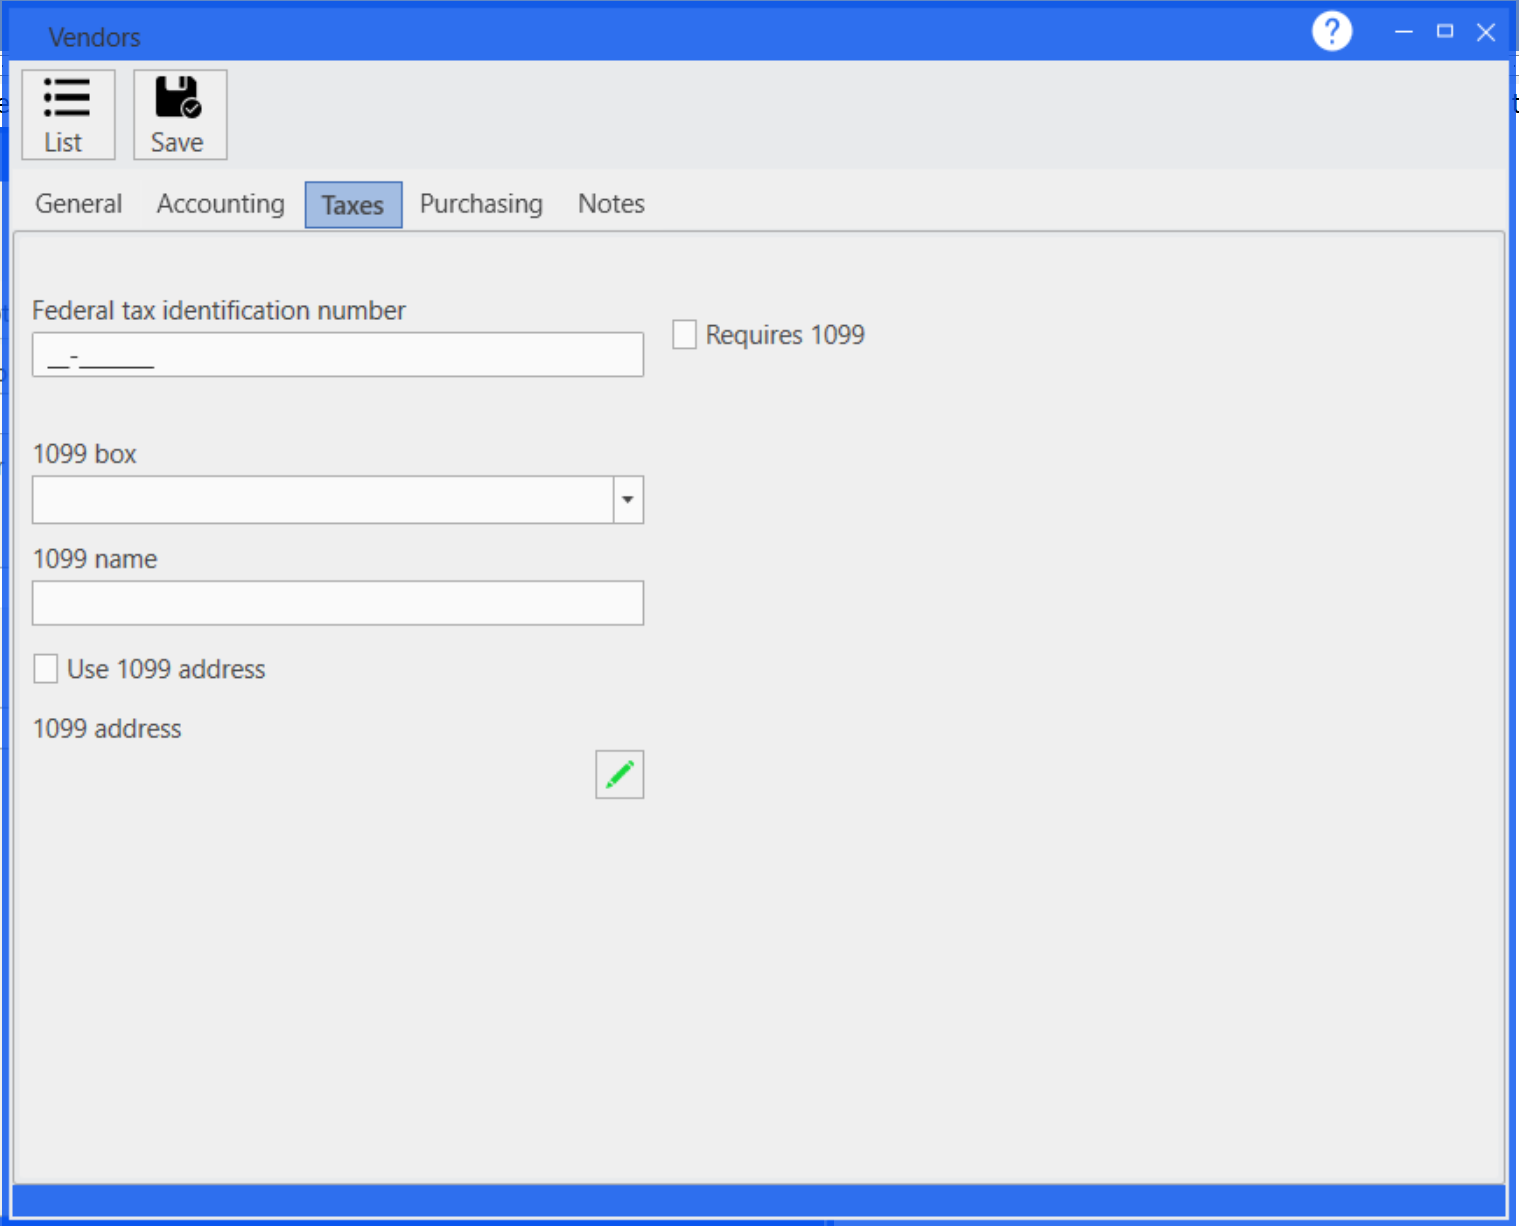
6.The Purchasing tab has the blanket purchase order number as well as if this vendor is using purchase orders or not.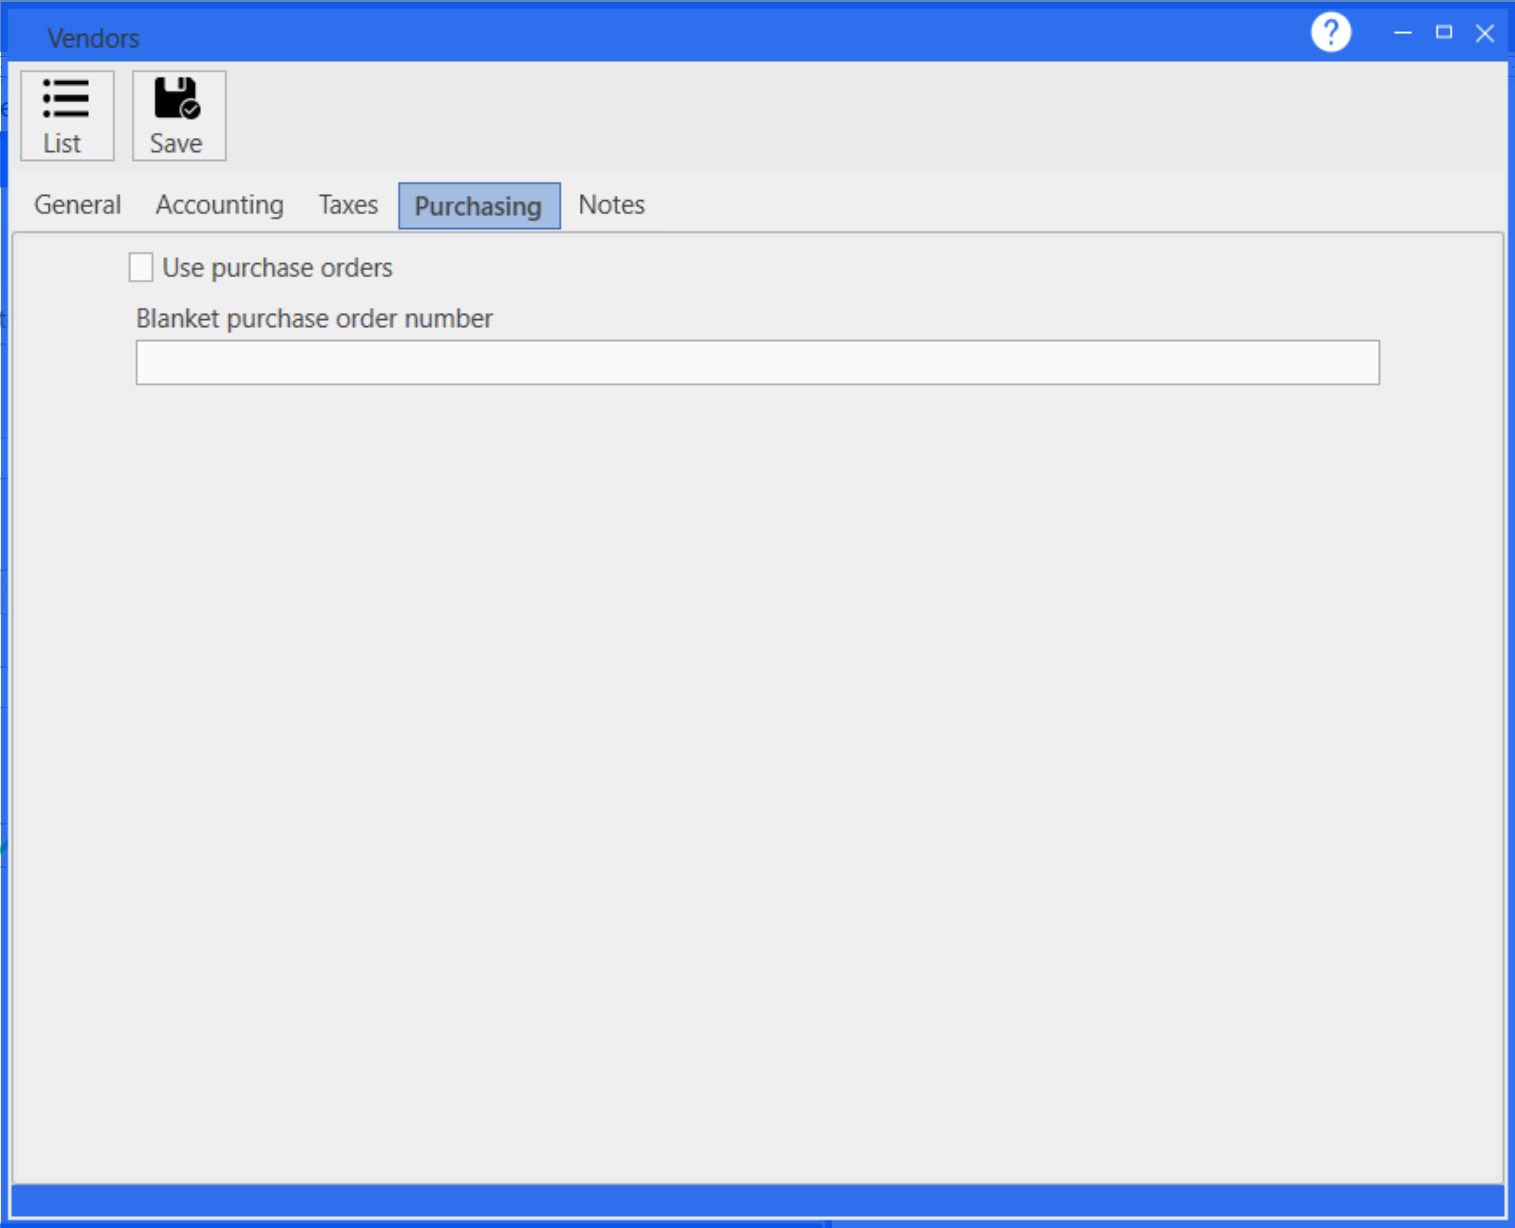
7.The Notes tab is where you may enter in notes relating to this particular vendor.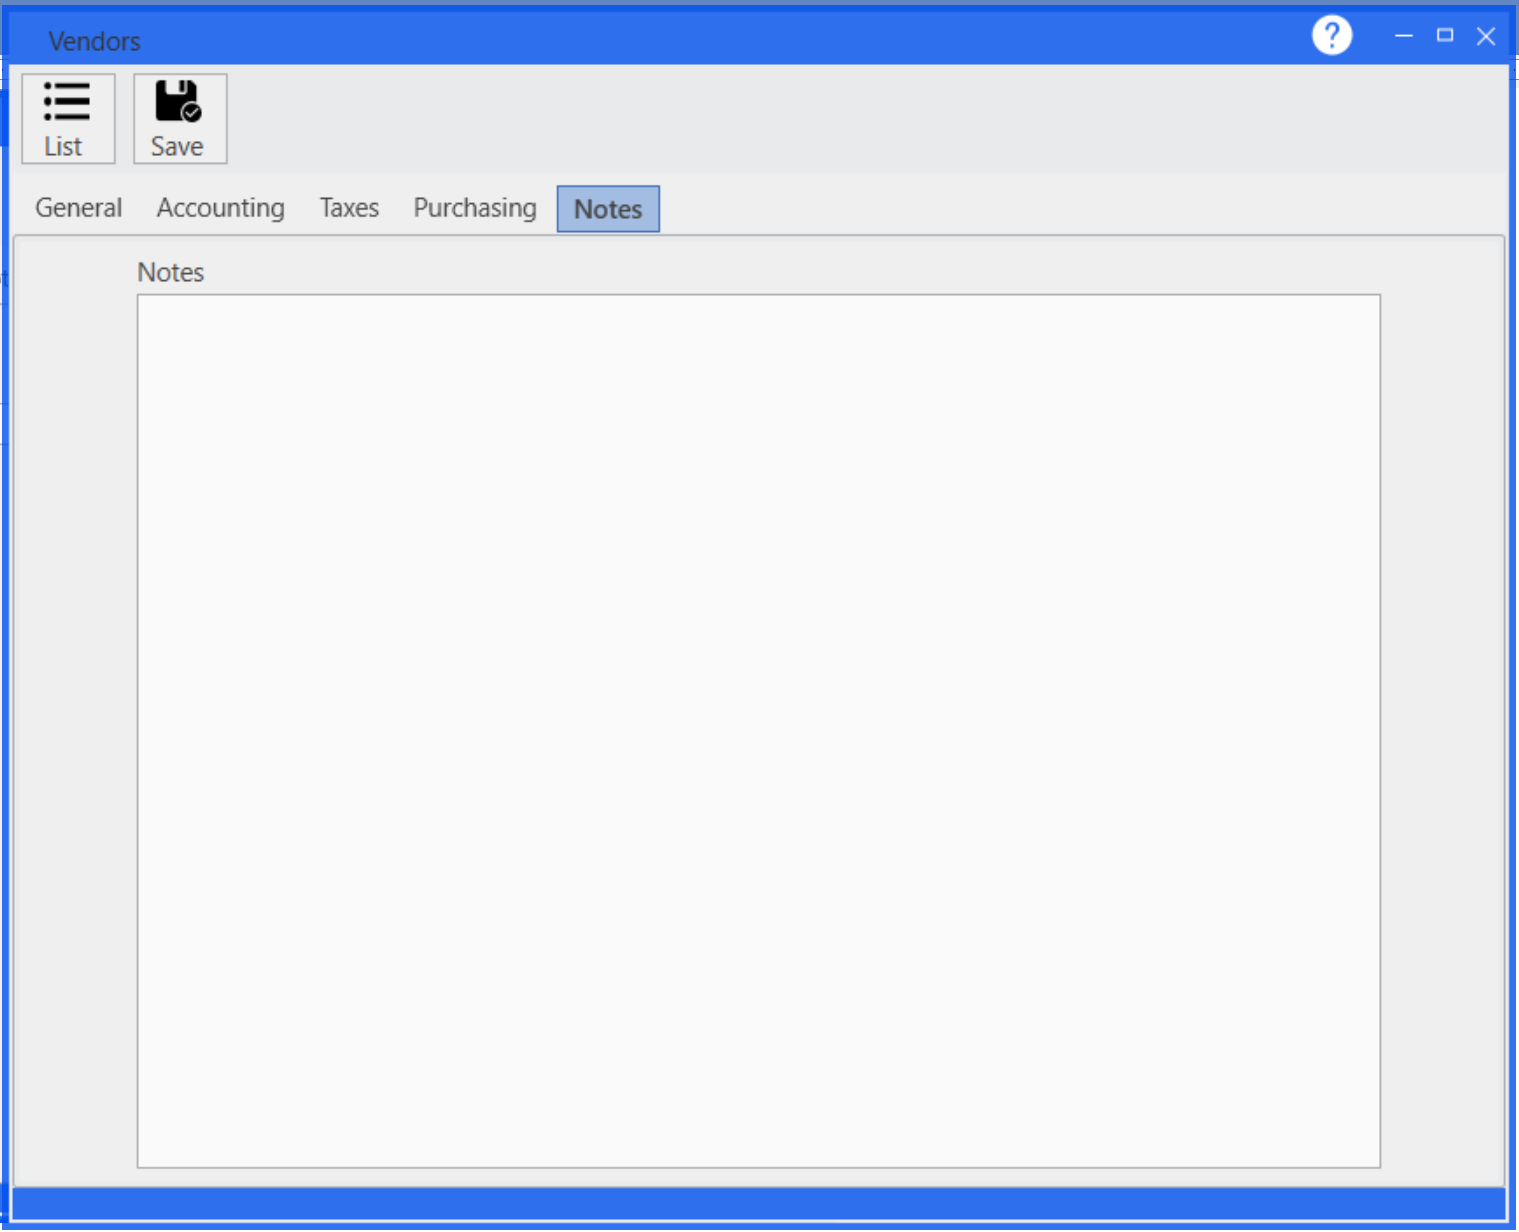
8.When you are finished entering information for a new vendor or finished making changes to an existing vendor; click on the Save button to save the new vendor or to save any changes made to the existing vendor.
9.If you need to delete a particular vendor, then highlight that vendor in the Vendor List and click on the Delete button to delete the vendor. If the vendor is currently being used, then the system will not let you delete the vendor. If a vendor is no longer being used then you can mark the status of that vendor as inactive instead of active.