HOW TO USE CALL LOG
DESCRIPTION: Instructions on how to use Call Log main screen and also the Call Log History screens. MAKE SURE you have read the instructions on ITEMS TO SET UP BEFORE USING CALL LOG before you read these instructions.
=================================================================
To access the Call Log program, click on the CUSTOMERS button .png) , then click on the CALL LOG button.
, then click on the CALL LOG button. 
The following screen will appear:
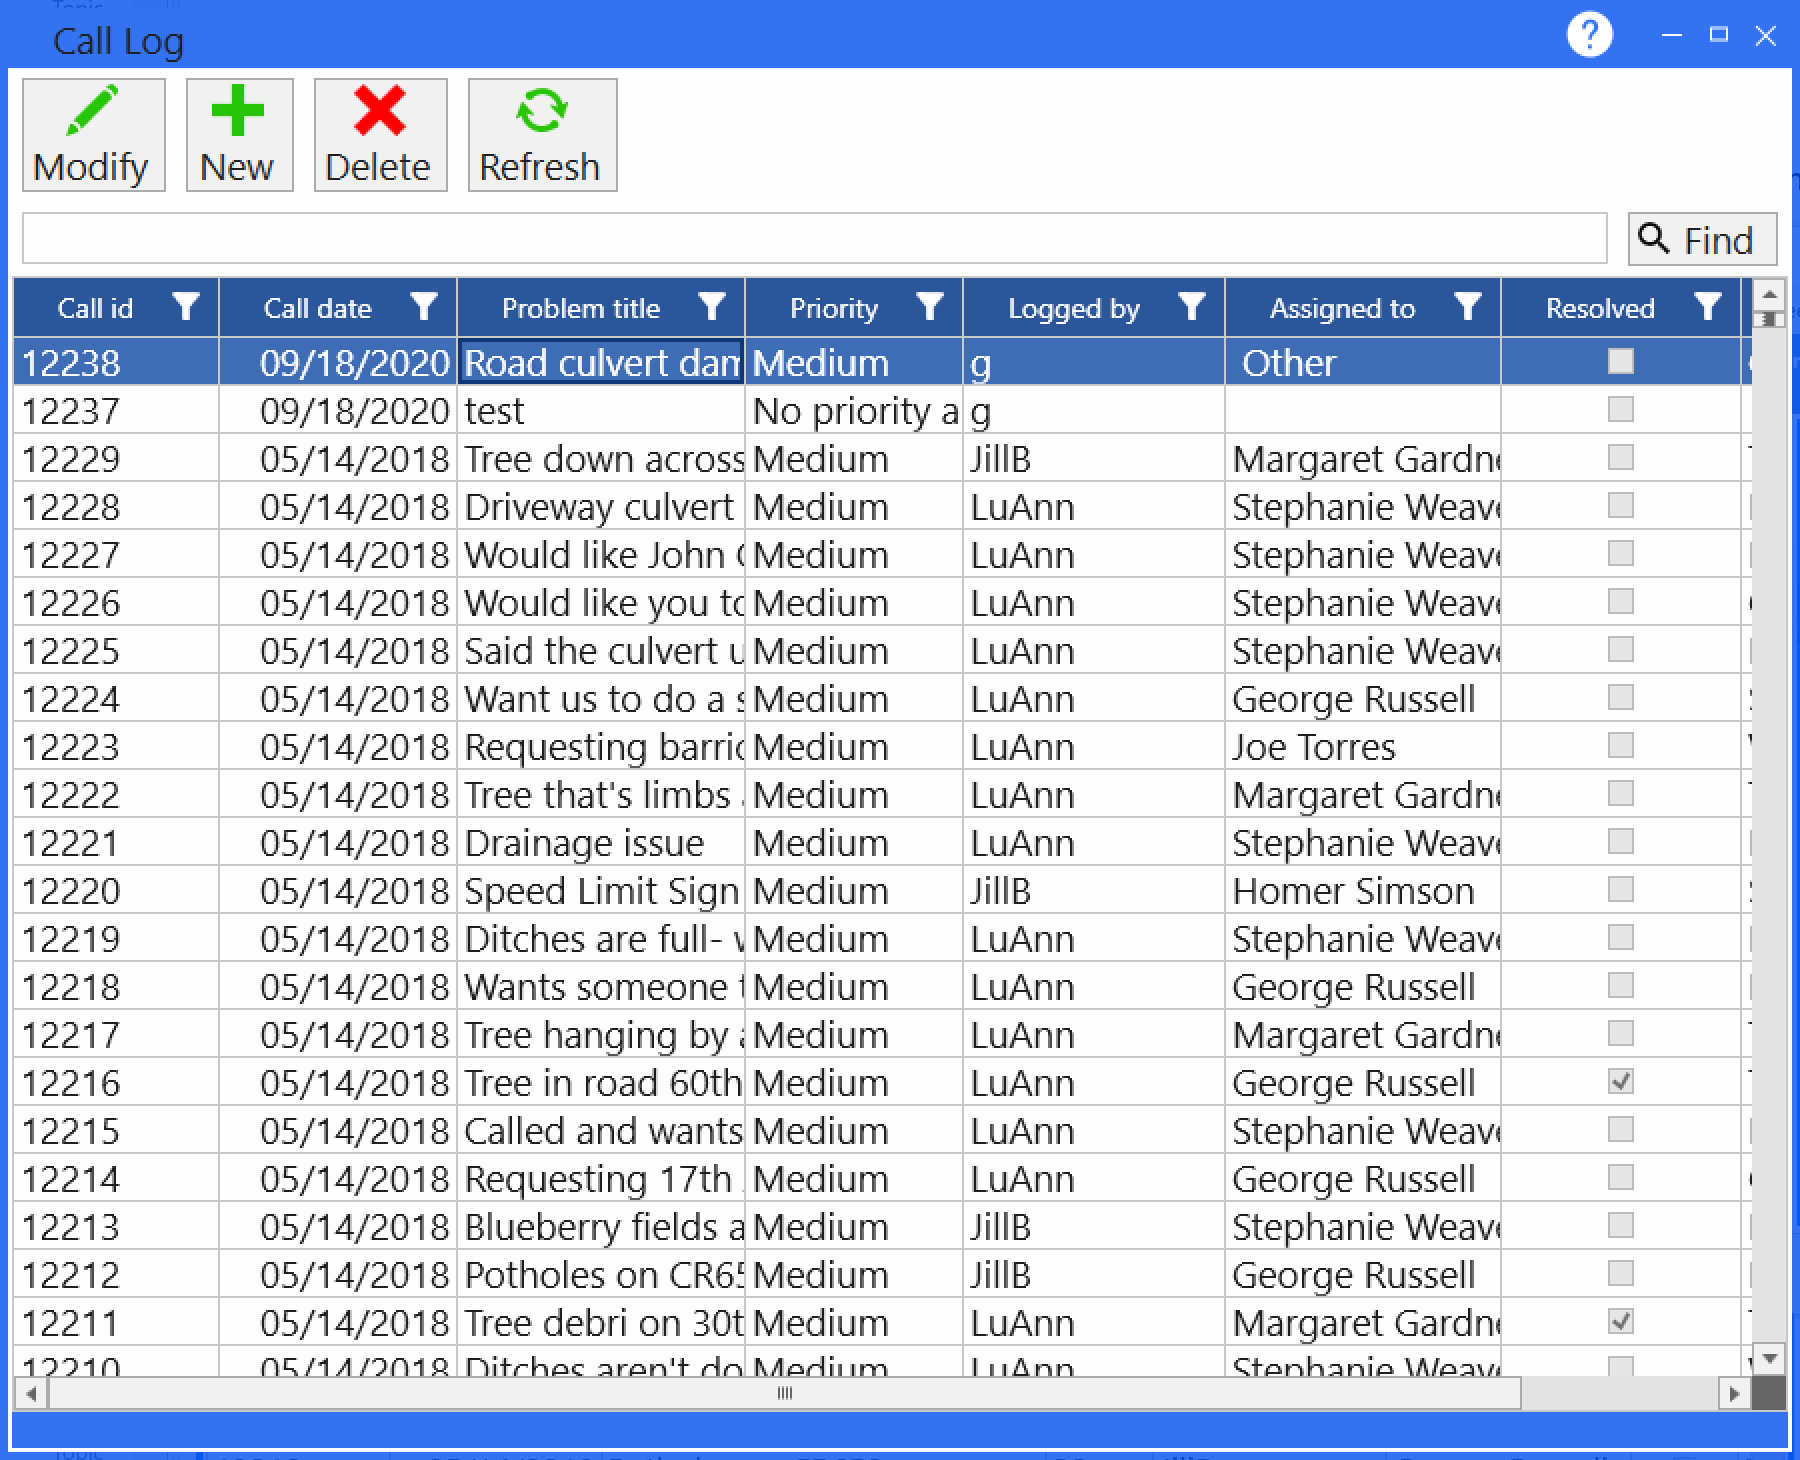
1. Click the NEW button. .png)
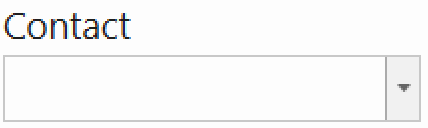
2. CALL DETAIL: Call detail will list the person who is calling. If the person has called before and you have logged a call, they will show up in the pull-down menu under CONTACT.
3. DATE: You will notice that the Date was automatically stamped when you started this entry.
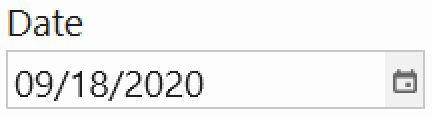
If you need to modify the date, you can click on the calendar button and pick the appropriate date.
4. LOGGED BY: 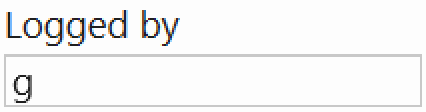 The credentials (name/initials) of the person who is logged in will automatically be entered in the Logged By box. This can be overridden, but is not recommended. If someone else is entering the information, they really should log on under their own account. Your agency should determine the best way to do this that fits their rules and regulations.
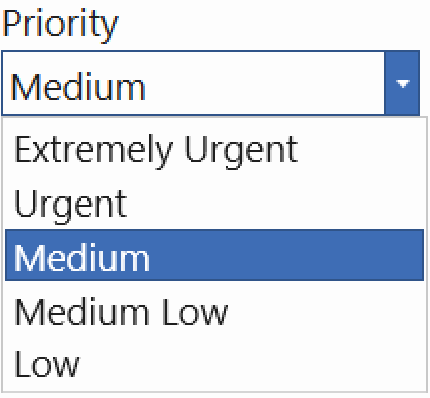
5. PRIORITY: This is one of those items that should be set up BEFORE using Call Log to log your calls. If you haven't set your priority categories, please see the instructions under ITEMS TO SET UP BEFORE USING CALL LOG-PRIORITY LIST.
Once you have your priorities set up, click on the pull-down menu to Select the level of priority for this particular phone call.
6. CALL CATEGORIES: This is another one of those items that should be set up BEFORE using Call Log to log your calls. If you haven't set up your call categories, please see the instructions under ITEMS TO SET UP BEFORE USING CALL LOG-CALL LOG CATEGORIES.
If you already have your call categories set up, you would use the pull-down menus to describe the call you are taking.
You can use up to three difference categories for the same call. The same categories will be available in box 1, 2 and 3.

If you need to ADD a new call category, please follow the instructions for doing that under the Help Menu - ITEMS TO SET UP BEFORE USING CALL LOG - Call Categories.
7. PROBLEM TITLE: Enter a SHORT description of the problem. (You will further describe the problem in the "Problem" box, so you don't need anything too lengthy here.)

8. REPLY REQUESTED: If the person calling requests that someone in the agency give them a call back about the problem, check this box.
![]()
9. PROBLEM: In the "Problem" box you want to give a very descriptive description of the problem. Keep in mind that the person that will need to reconcile this problem most likely isn't the person who took the phone call; therefore they haven't heard the story from the person. They will need as much pertinent information as possible. IT'S ALWAYS A GOOD IDEA TO LIST AN ADDRESS IF YOU HAVE ONE!

10. TOWNSHIP: This is another one of those items that should be set up BEFORE using Call Log to log your calls. If you haven't set up your Townships, please see the instructions under ITEMS TO SET UP BEFORE USING CALL LOG-TOWNSHIPS.
If you have your Townships set up already, use the Township pull-down menu to Select the appropriate township.

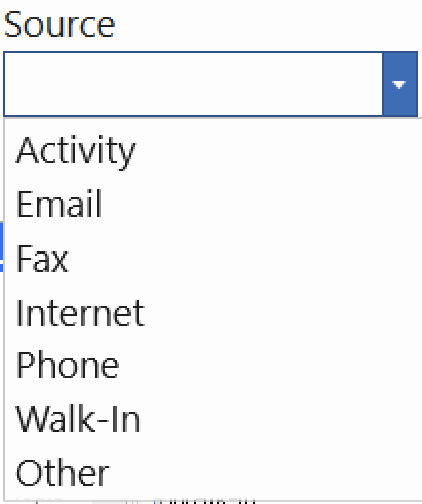
11. SOURCE:
The Source is the way the person contacted you. Select the appropriate source. It will default to Phone.
12. FULL ROAD NAME: 
This is another one of those items that should be set up BEFORE using Call Log to log your calls. If you haven't set up your Full Road Names, please see the instructions under ITEMS TO SET UP BEFORE USING CALL LOG- FULL ROAD NAME (& ROAD SEGMENTS).
NOTE: You don't have to set them all up ahead of time, but it will save you significant time and will maintain correct spellings for roads.
To Select the Full Road Name, click the pull-down menu and Select the appropriate road. (Note: If you have a long list, start entering the first few letters of the road name and the cursor should pop down to that letter(s).)
13. ROAD SEGMENT:
If you set up your Full Road Names WITH road segments, you can use the pull-down menu under Road Segment to pick which part of the Full Road Name this particular situation pertains to. (In other words, what address it may pertain to.)

14. CROSS ROAD: 
If applicable, list the nearest cross road to the Road Segment. This will help the Call Log Resolver find the place where the problem is.
15. ORDINANCES: 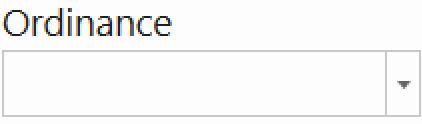
This is another one of those items that should be set up BEFORE using Call Log to log your calls. If you haven't set up your Full Road Names, please see the instructions under ITEMS TO SET UP BEFORE USING CALL LOG-ORDINANCES.
If you set up your Ordinances ahead of time, you can use the pull-down menu under Ordinances to pick which Ordinance this Call Log pertains to. If you need to set up a new Ordinance, please follow the Help Menu instructions under ITEMS TO SET UP BEFORE USING CALL LOG MAINTENANCE-ORDINANCES.
16. ASSIGNED TO: 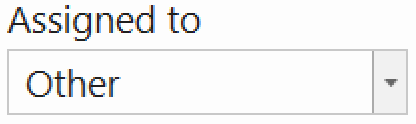
This is another one of those items that should be set up BEFORE using Call Log to log your calls. If you haven't set up your Full Road Names, please see the instructions under ITEMS TO SET UP BEFORE USING CALL LOG-EMAILING CALL LOGS. This portion is done through Part 2 - Setting up the Call Resolver in Employee Maintenance.
If you set up your "Assigned To" ahead of time, you can use the pull-down menu under ASSIGNED TO to pick which person you would like to assign this Call Log to.
17. RESOLVED: ![]()
Once the Call Resolver has investigated the problem and solved it, the Call Resolver should check this box. (DO NOT check the box if you are working on the problem. You can still put notes in the RESOLUTION area, or in the CALL LOG ACTIVITIES area.)
18. DATE/TIME: 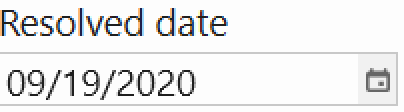
Once the Call Resolver checks the "RESOLVED" box, the Date/Time stamp will automatically appear. To modify, click on the Blue Calendar button. ![]()
19. RESOLUTION: 
This is where the Call Resolver should enter the resolution he/she came up with. If this resolution takes several attempts, you can list them here...(Recommend putting a date in front of each investigation)..or you can log them under the CALL LOG ACTIVITIES section and leave this section for the final resolution.
20. Click SAVE when done. 
CALL ACTIVITIES:
At times, you may need to make several attempts at reconciling a person's problem. The Call Activities section gives you the opportunity to log EACH attempt that you made, thus giving a history of the problem up to its final resolution.
1. Locate the call log you are interested in adding history to. (See the Help Menu for "HOW TO SEARCH IN CALL LOG" if you are unsure how to locate the call log you want.)
2. Once you've located the correct call log, click on the CALL ACTIVITIES tab at the top of the screen.
3. Click the NEW button at the bottom of the screen.
The following screen will appear:
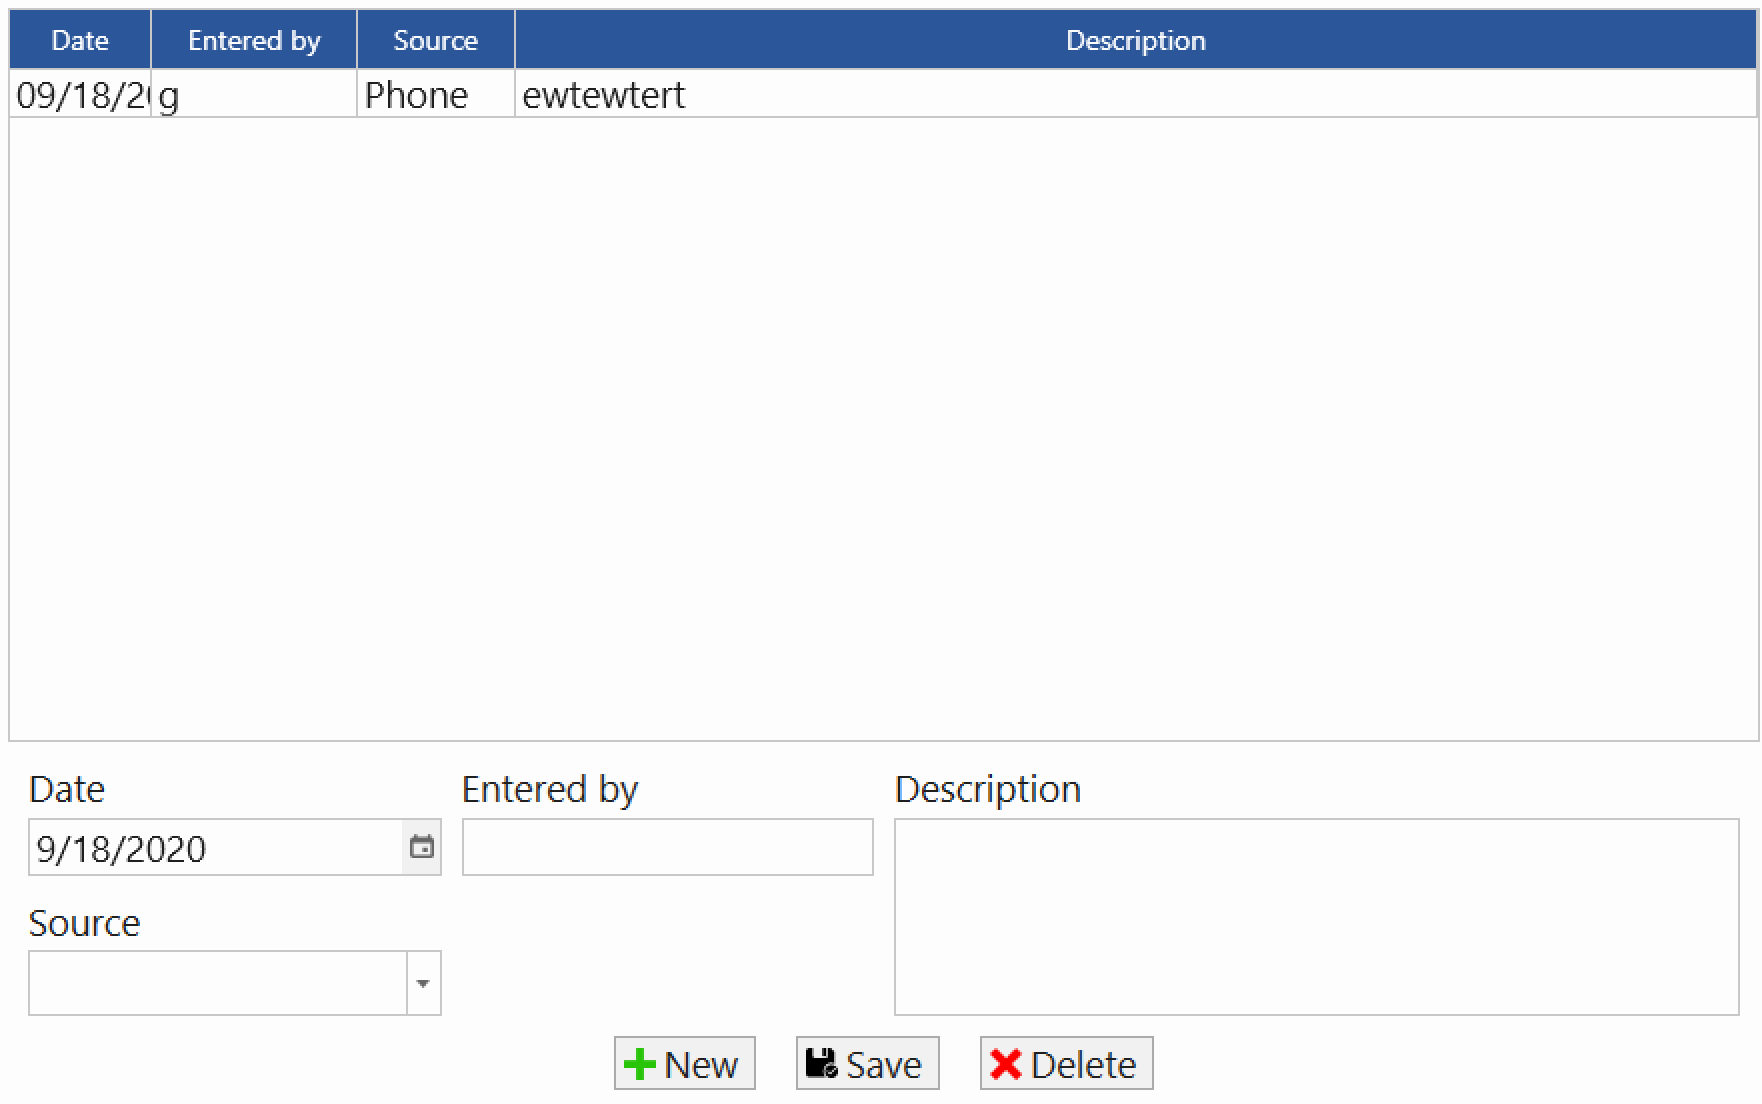
4. The DATE/TIME and ENTERED BY will automatically fill.  If you would like to edit the Date, you can click on the Calendar button. To change the Entered By, simply retype in the box.
5. SOURCE: Enter the Call Log Source by using the pull-down menu. (System defaults to phone).
6. DESCRIPTION: Enter a description of the events that happened on this particular day.
7. Click SAVE (to save the record.)